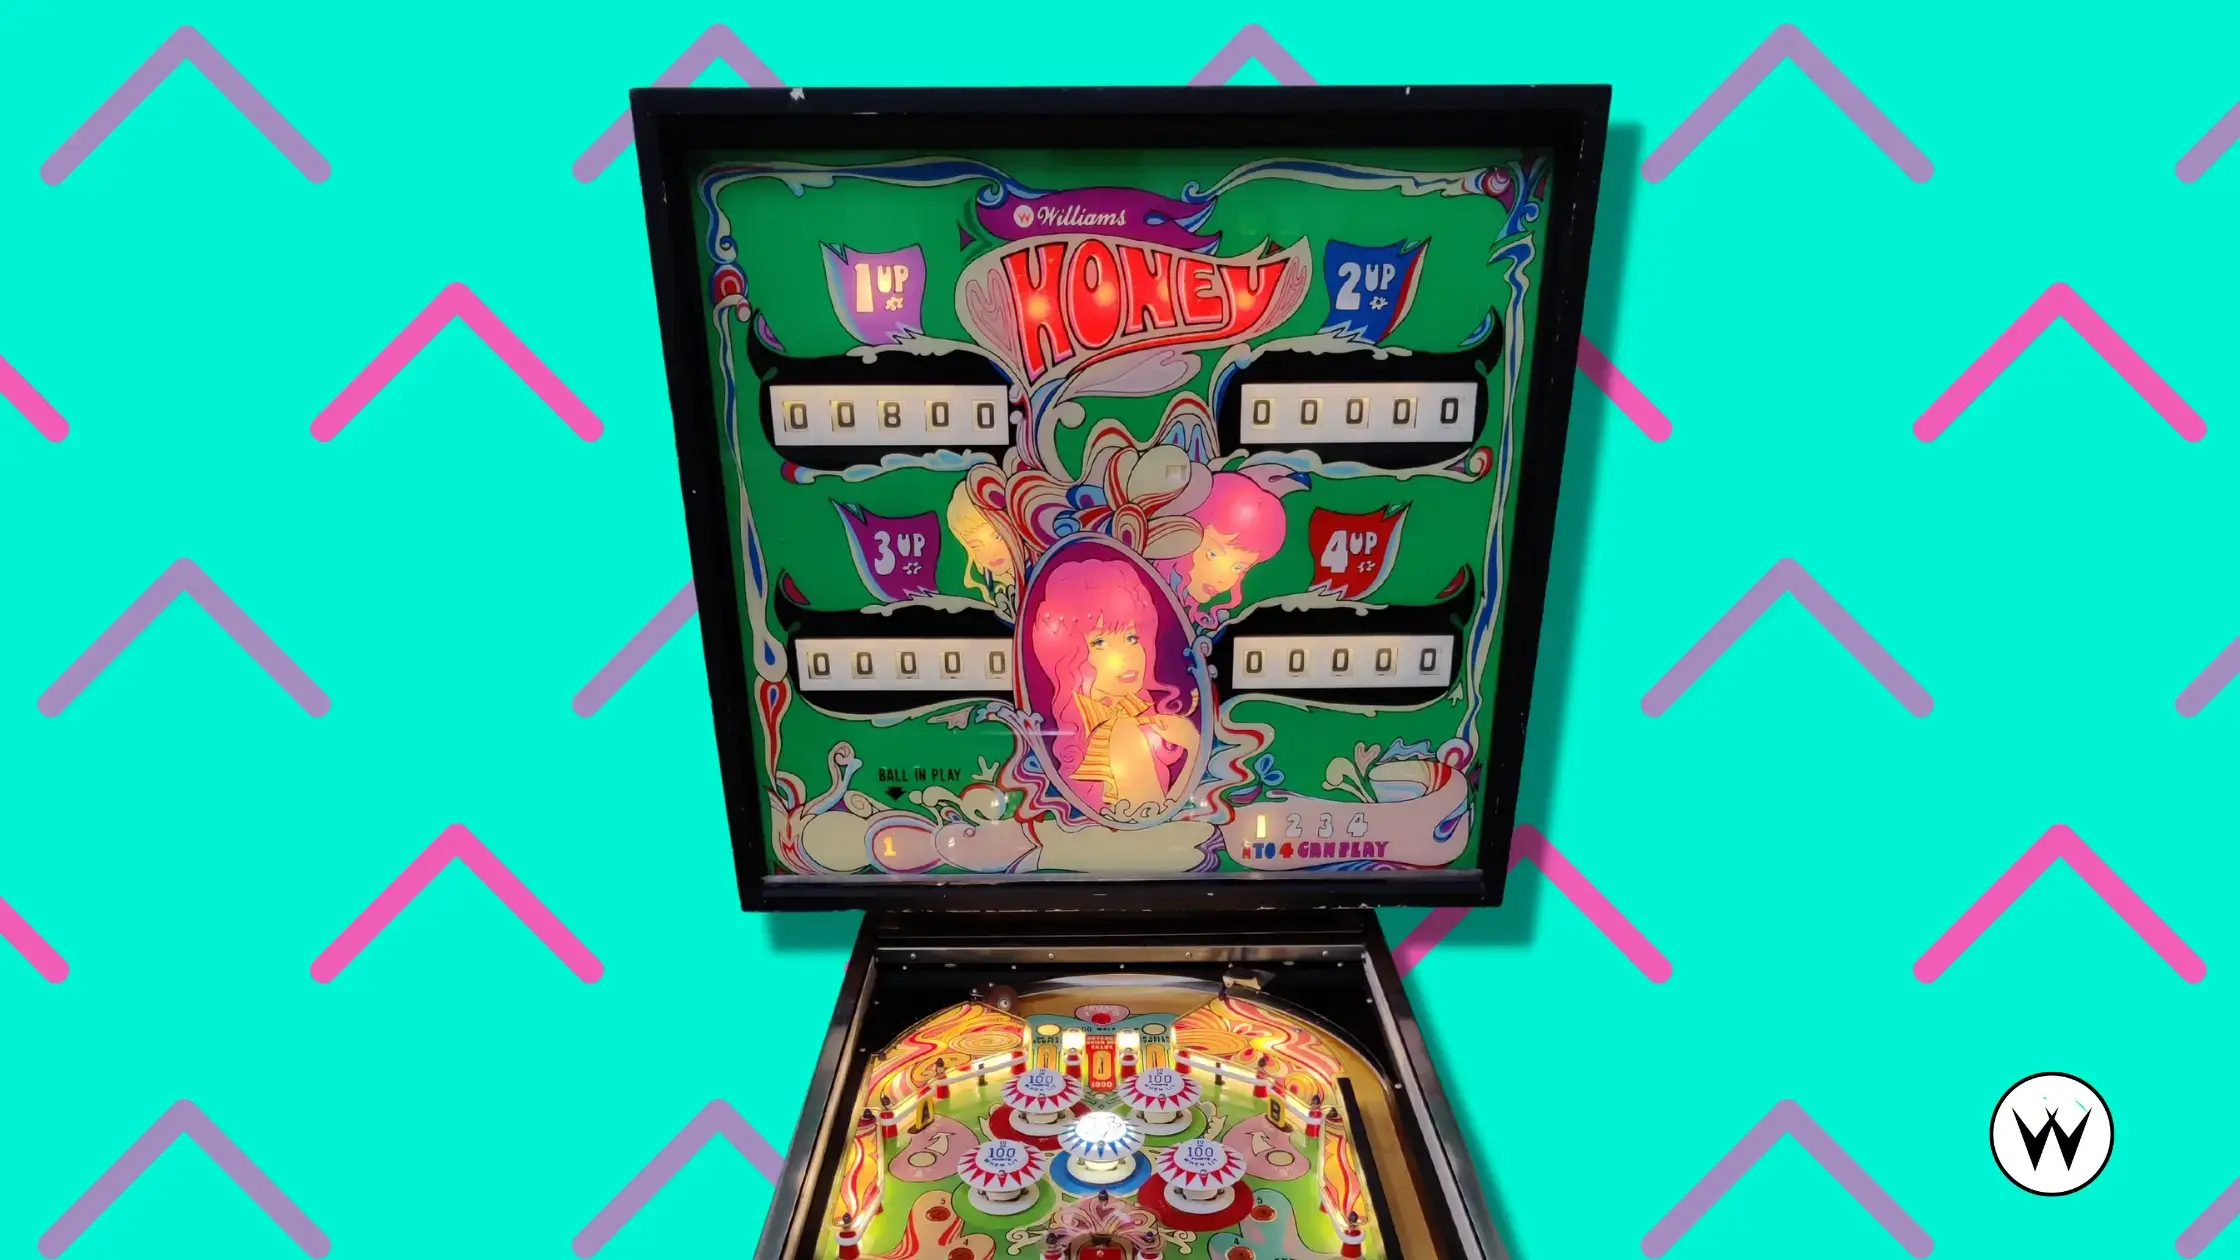
Dipsy Doodle / Doodle Bug / Love Bug Game Photos

No items found.

Dipsy Doodle / Doodle Bug / Love Bug

Average fun score:
100
Total ratings:
1
0
Fun rating logged.
Oops! Something went wrong while submitting the form.
Dipsy Doodle / Doodle Bug / Love Bug is a pinball machine manufactured by Williams Electronic Games Inc. in 1970.Concept by Norm Clark. Design by Norm Clark. Mechanics by Norm Clark. Art by Christian Marche. Animation by Norm Clark.
Primary manufacturer:
Williams Electronic Games Inc.
Year:
1970
OPDB Group ID:
rx1z
Remake manufacturer:
Other manufacturer:
Game type:
Electro-Mechanical
Display type:
Reels
Players:
1

Flyers & Promo Media

No items found.

Dipsy Doodle / Doodle Bug / Love Bug Design Team

Concept:
Norm Clark
Design:
Code:
No items found.
Mechanics/Electronics:
Animation:
Sound/Music:
No items found.
Sound:
No items found.
Music:
No items found.
Callouts:
No items found.

Dipsy Doodle / Doodle Bug / Love Bug Rules

Doodle Bug

Quickie Version:

This game is more complex than it looks. It starts as a UTAD game until you’ve raised the center post, then switches to micro-flip and standup target shooting at the 1-4 targets, in order, then reverts to UTAD.

Go-to Flipper:

Balanced

Risk Index:

Very High without the center post up, High even with it

Style Alert:

Go with the Flow!

Skillshot(s):

Make the top saucer. The slings at the top cycle the lit value; you want the 5000 [red arrow on the right] lit when it drops in. If that would require too many cycles from where the light is when you plunge (it’s hard to get more than 2 changes), try to get one of the “light bumpers” features. Lighting the bumpers also lights one of the side lanes to open the bottom right gate (yellow bumpers light the left side, green bumpers light the right side). The two “500 points” choices are the least valuable. The top saucer also advances the target light to the next number (#1-#4, see below).

Full Rules:

Lighting both the yellow and green bumpers lights the center bumper for 1000 and lights both side lanes to open the gate, so if you already have one color lit, getting the other color becomes your best option. First things first: keep the ball up top until you have the center post raised, via either of those side lanes. With any luck, you’ll get the ball to also go back up into the saucer to light the bumpers and or go through one of the upper side lanes to open the lower right gate. Okay, now let’s assume the ball comes back down to the flippers with the center post up. Try to get the ball to settle between the tip of either flipper and the center post. This is harder than you’re used to, since if you try the normal “hold up the flipper to cradle it” technique, the ball will roll up the flipper, over and behind the flipper pivot, and drain. Okay, assume you’ve done a drop catch, dead bounce or whatever and you have the ball in position; good. Now, look at the #1 through #4 targets to see which one is lit - - the top saucer may have advanced it beyond target #1, so you’ll need to check. You want to collect the 1-4 targets in order. Assuming you still need all four for simplicity, here’s the procedure. Microflip the ball back and forth between the flippers until you get it to roll up the right flipper far enough to shoot at the #1 target. Collect #1; if your shot grazes the rubber to the left of the target, that lowers the post and you should then go up top and try to get the post back up. Otherwise, get the ball back in that flipper-post nook, then microflip until you get a good shot at the #2 target. Repeat the process for the #3 and #4 targets; you may not need to raise the post in between these since shooting the #2 and #3 targets doesn’t lower it, but if you roll over a “down post” button along the way, try to reactive the post. Of course, you can shoot the #1-4 targets any time even if the post isn’t up and should do if you get a clean shot at the next one you need, it’s just easier and usually safer to do using the microflip technique. When shooting #4, you might graze the down post rubber to the right of it. Caution here regarding microflipping: if you flip too hard, you risk having the ball roll up the opposite flipper, over it and behind it for a drain; unlike most games, there’s no return lane rail to protect you. If you sense you flipped too hard and this might happen, flip right away with the other flipper that the ball is now rolling up to prevent a drain. One you have collected all 4 numbers shoot the center target (between #2 and #3) to start the doodler (or collect the extra ball, if on). Each time you complete the 1 through 4 targets, the doodler value rises by a factor of ten - - 10, 100, 1000 and maxing out at 10000. (On Dipsy Doodle, it’s only 10 or 100.) Starting the doodler lowers the center post immediately - - no sitting there with the ball cradled against the post forever while points score! You can’t use the open gate for free doodling, either, since when the ball trips the outlane switch before going through the gate, that stops the doodler. Now, return to your UTAD routine; the idea now that you have your doodler running is to milk the bumpers for as many points as possible while the doodler racks up more points. But the topmost slingshots [the horizontal ones] and the side “up post” lanes also immediately stop the doodler. For getting the most out of your doodler, you have to hit that center target, then go up top, avoiding the “stop doodle bug” rollovers en route, and get as much action up there as you can in the interior area between the bumpers. If you ever get the doodler value up to 1000 (or 10000; I’ve never done 10K), forget about anything other than getting the doodler running! You’ll crush anybody else with just a few seconds of doodling at that level. Control vs. Flow Alert! Letting the ball dead bounce from one flipper across to the other is NOT always safe here; it may bounce across just above the top of the other flipper and drain out behind it! You can’t cradle the ball at all; the best you can do is live catch it and let it roll down the face of the flipper. As one of the oldest EMs used, Doodle Bug may suffer more than most games from weak bumpers; while they were intended to be able to bounce the ball back into the top saucer, I’ve seen several cases where they’re now too weak to do so. Up top more often is a more viable strategy on the game when the bumpers are recently replaced, since you can then potentially advance the target sequence and light the bumpers with such shots.

via Bob's Guide

Love Bug

Quickie Version:

This game is more complex than it looks. It starts as a UTAD game until you’ve raised the center post, then switches to micro-flip and standup target shooting at the 1-4 targets, in order, then reverts to UTAD.

Go-to Flipper:

Balanced

Risk Index:

Very High without the center post up, High even with it

Skillshot(s):

Make the top saucer. The slings at the top cycle the lit value; you want the 5000 [red arrow on the right] lit when it drops in. If that would require too many cycles from where the light is when you plunge (it’s hard to get more than 2 changes), try to get one of the “light bumpers” features. Lighting the bumpers also lights one of the side lanes to open the bottom right gate (yellow bumpers on lights the left side, green bumpers on lights the right side). The two “500 points” choices are the least valuable. The top saucer also advances the target light to the next number (#1-#4, see below).

Full Rules:

This is the add-a-ball version of Doodle Bug. Lighting both the yellow and green bumpers lights the center bumper for 1000 and lights both side lanes to open the gate, so if you already have one color lit, getting the other color becomes your best option. First things first: keep the ball up top until you have the center post raised, via either of those side lanes. With any luck, you’ll get the ball to also go back up into the saucer to light the bumpers and or go through one of the upper side lanes to open the lower right gate. Okay, now let’s assume the ball comes back down to the flippers with the center post up. Try to get the ball to settle between the tip of either flipper and the center post. This is harder than you’re used to, since if you try the normal “hold up the flipper to cradle it” technique, the ball will roll up the flipper, over and behind the flipper pivot, and drain. Okay, assume you’ve done a drop catch, dead bounce or whatever and you have the ball in position; good. Now, look at the #1 through #4 targets to see which one is lit - - the top saucer may have advanced it beyond target #1, so you’ll need to check. You want to collect the 1-4 targets in order. Assuming you still need all four for simplicity, here’s the procedure. Microflip the ball back and forth between the flippers until you get it to roll up the right flipper far enough to shoot at the #1 target. Collect #1; if your shot grazes the rubber to the left of the target, that lowers the post and you should then go up top and try to get the post back up. Otherwise, get the ball back in that flipper-post nook, then microflip until you get a good shot at the #2 target. Repeat the process for the #3 and #4 targets; you may not need to raise the post in between these since shooting the #2 and #3 targets doesn’t lower it, but if you roll over a “down post” button along the way, try to reactive the post. Of course, you can shoot the #1-4 targets any time even if the post isn’t up and should do if you get a clean shot at the next one you need, it’s just easier and usually safer to do using the microflip technique. When shooting #4, you might graze the down post rubber to the right of it. Caution here regarding microflipping: if you flip too hard, you risk having the ball roll up the opposite flipper, over it and behind it for a drain; unlike most games, there’s no return lane rail to protect you. If you sense you flipped too hard and this might happen, flip right away with the other flipper that the ball is now rolling up to prevent a drain. One you have collected all 4 numbers shoot it to start the doodler (or collect the extra ball, if on). Each time you complete the 1 through 4 targets, the doodler value rises by a factor of ten - - 10, 100, 1000 and maxing out at 10000. (On Dipsy Doodle, it’s only 10 or 100.) Starting the doodler lowers the center post immediately - - no sitting there with the ball cradled against the post forever while points score! You can’t use the open gate for free doodling, either, since when the ball trips the outlane switch before going through the gate, that stops the doodler. Now, return to your UTAD routine; the idea now that you have your doodler running is to milk the bumpers for as many points as possible while the doodler racks up more points. But the topmost slingshots [the horizontal ones] and the side “up post” lanes also immediately stop the doodler. For getting the most out of your doodler, you have to hit that center target, then go up top, avoiding the “stop doodle bug” rollovers en route, and get as much action up there as you can in the interior area between the bumpers. If you ever get the doodler value up to 1000 (or 10000; I’ve never done 10K), forget about anything other than getting the doodler running! You’ll crush anybody else with just a few seconds of doodling at that level. Flipper control: letting the ball dead bounce from one flipper across to the other is NOT always safe here; it may bounce across just above the top of the other flipper and drain out behind it! As one of the oldest EMs used, Love Bug may suffer more than most games from weak bumpers; while they were intended to be able to bounce the ball back into the top saucer, I’ve seen several cases where they’re now too weak to do so. Up top more often is a more viable strategy on the game when the bumpers are recently replaced, since you can then potentially advance the target sequence and light the bumpers with such shots.

via Bob's Guide

How to Play Dipsy Doodle / Doodle Bug / Love Bug

No items found.

Dipsy Doodle / Doodle Bug / Love Bug Gameplay Video

Gameplay Discussion & History

Mods and Toppers

No items found.