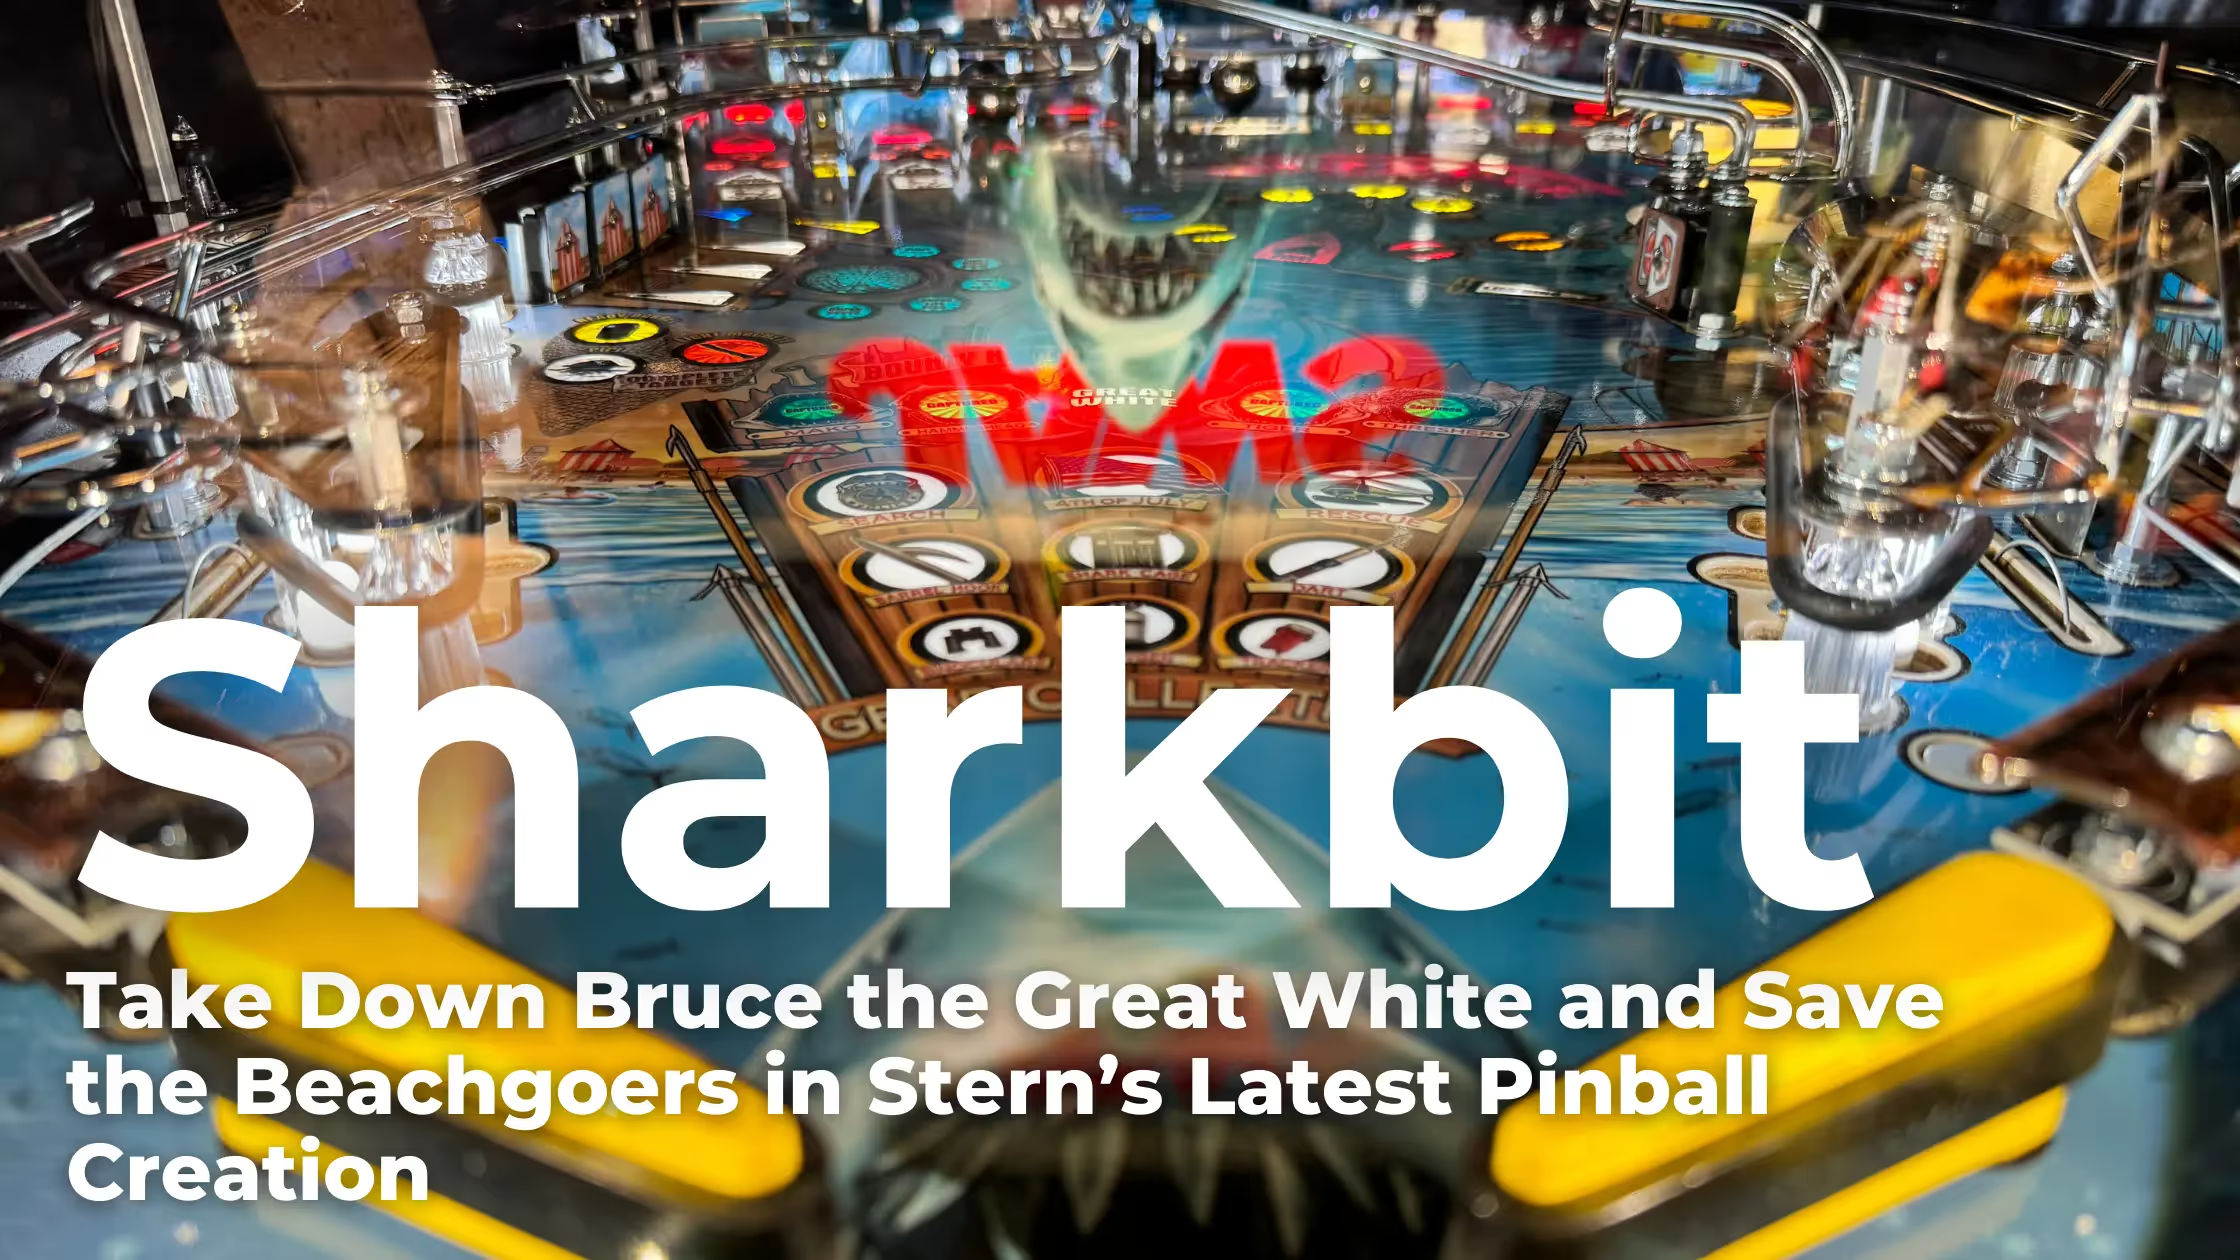
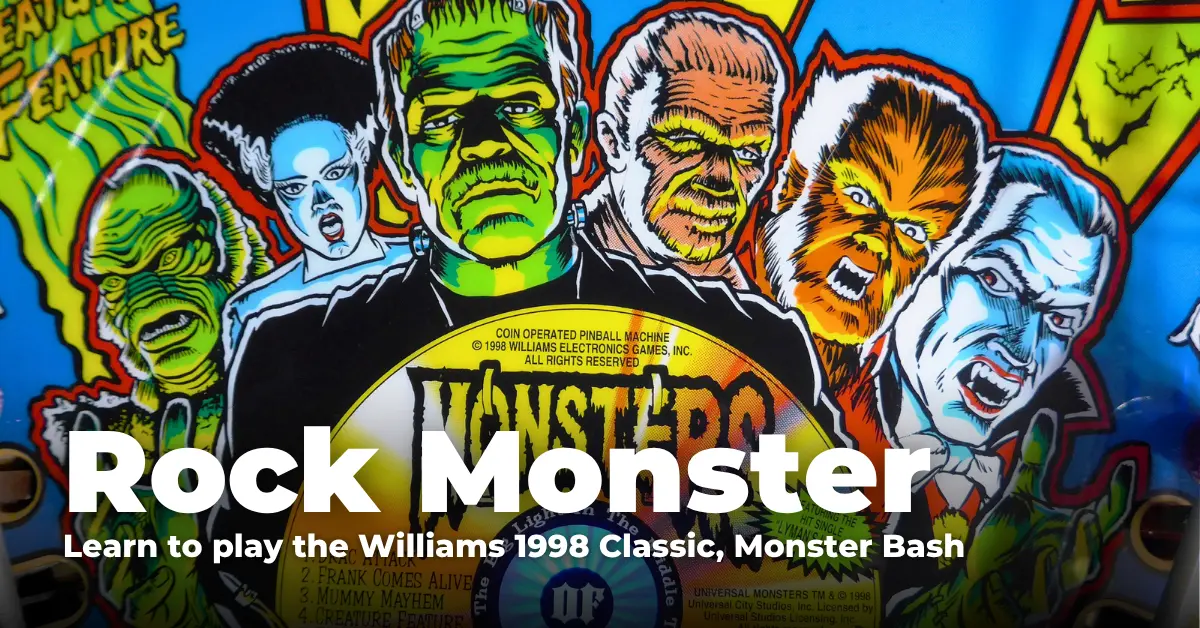
Sharkbit: Take Down Bruce the Great White and Save the Beachgoers in Stern's Latest Pinball Creation

Photos: Colin Alsheimer
Like what you're reading?
Get pinball news, analysis, and deep dives delivered to your inbox.
Get pinball news, analysis, and deep dives delivered to your inbox.
Keith Elwin has proven himself as Stern Pinball’s “jack of all trades” with his newest release, Jaws. Every new Elwin design feels completely different from the last, while still iterating on what worked in the games that preceded it. Compared to Godzilla, a relatively long-playing machine with a wide-open playfield, Jaws tends to play far more aggressively and features many shots that can be risky but are worth mastering to maximize scores. Scoring on Jaws also tends to come in far larger chunks compared to Godzilla.
It took me a while to learn what I was doing on Jaws and what scoring features to prioritize, but I hope this guide can clarify the quickest ways to maximizing your score in the early game. From my experience, shark encounter & bounty hunt completion are the biggest contributors to large scores.

Note: this tutorial is based on code version 0.98.
Jaws is Keith Elwin’s sixth design for Stern, released at the beginning of 2024. Summer has arrived in the bustling town of Amity, whose beaches have been infested with sharks including “Bruce”, a life-threatening Great White shark. The player is hired alongside a crew of experienced seafarers to take down Bruce, scout the beaches for sharks, and evacuate their beachgoers before it’s too late.

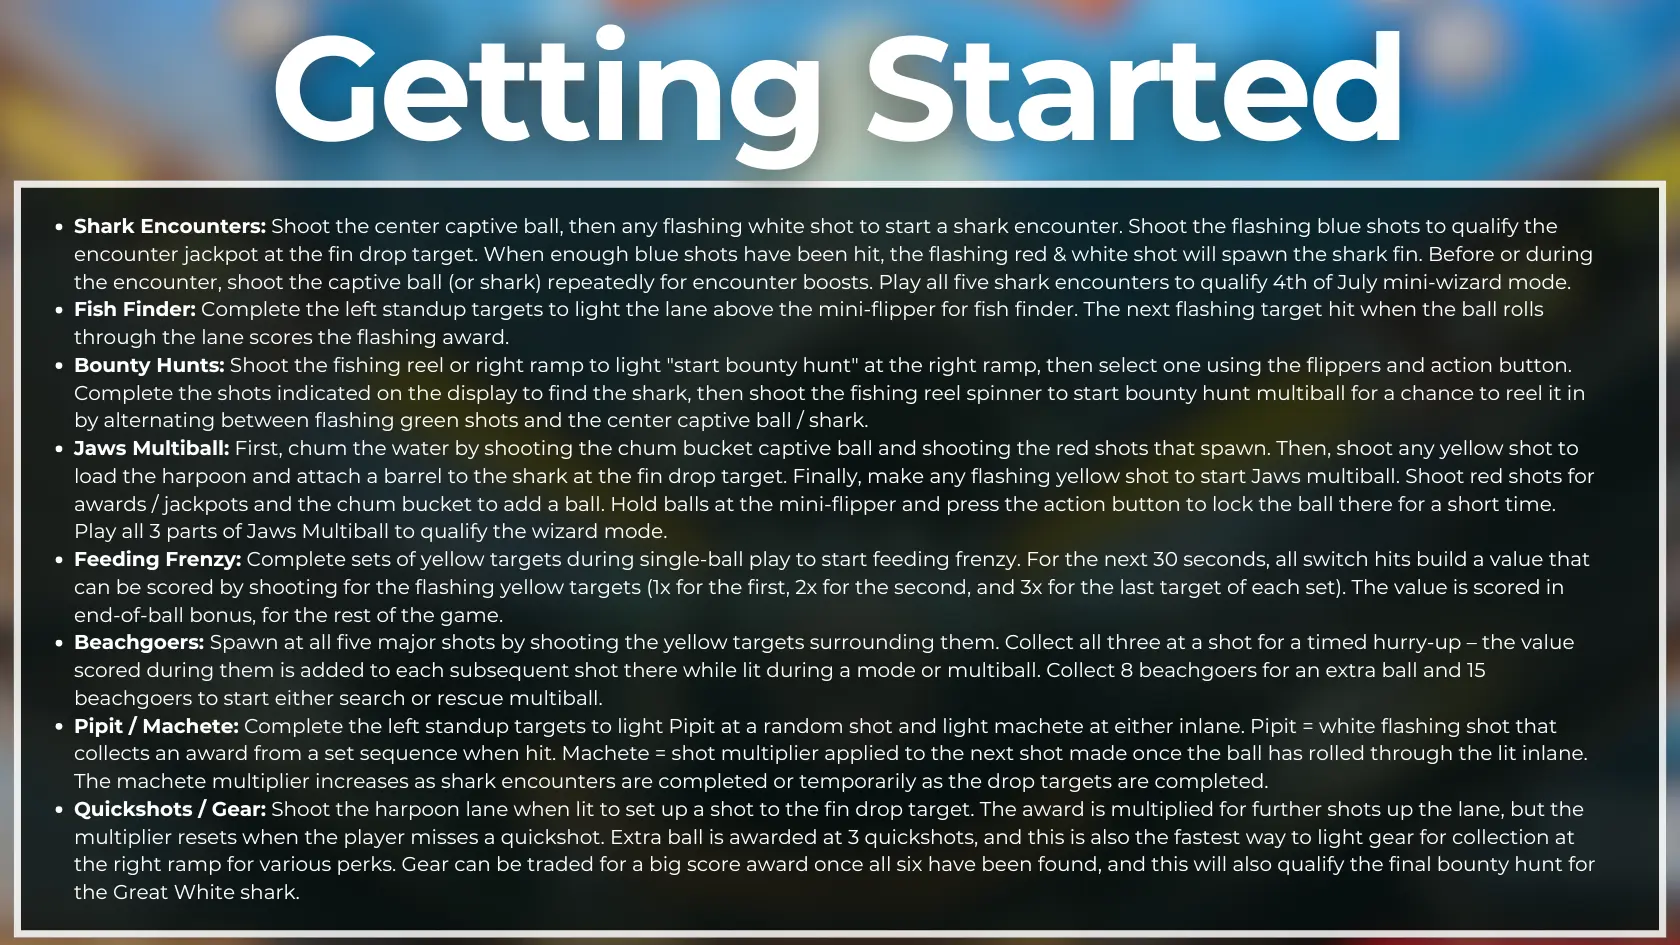
Gating the left side of the playfield is the “harpoon shot”, a long lane that can be fed to either by shooting the left orbit (with a spinner in front of it) or directly via a shot from the mini-flipper parallel to it and feeds the left flipper. The harpoon shot raises the fin drop target when its yellow light is lit, or qualifies quickshot when its blue light is lit, and is thus an important shot to master for high scores – quickshots can add up very quickly if the player keeps shooting for the fin drop target.
Directly below the side entrance to the harpoon shot are three standup targets. These targets are used to collect fish finder awards when the ball rolls over the lane below the bumper and can be hit either from the mini-flipper or lower right flipper. Completing these targets also lights machete for a shot multiplier at either inlane, if machete isn’t already lit.
Two ramps, with a captive ball in between them, are located to the left of the left orbit entrance. The leftmost ramp is called the “wave ramp”, requiring a strong shot to complete it and feed the mini-flipper, while the center ramp does a simple U-turn and feeds the left flipper. Between the two ramps is a captive ball with a model of a chum bucket above it. This captive ball is more important than it seems, as shooting it will spawn red shots that advance the chum line and allow you to access Jaws multiball.
Bruce, the Great White shark himself, can be seen trapped in a shark cage above a second captive ball. While the shark might not eat the ball (as far as we know), the player can hit the shark cage by completing the lit targets below it using the captive ball. One shot to the shark cage will light the shark encounter modes at all main shots, and further shots will boost the value of shark encounters either by adding time or a 2x multiplier to all scoring during the next one played.
To the right of the shark cage is the most difficult shot on the game, the fishing reel spinner. Unlike most pinball spinners, the reel spinner is a disc akin to the portal on Avengers: Infinity Quest that spins as the ball passes by it – stronger shots to the reel mean more spins. Directly to the right of the fishing reel is the game’s tight right ramp shot, used to start bounty hunts when available and sending the ball to the right flipper.
The lower right of the playfield resembles the bumper area on Godzilla. Below a bumper with a buoy above it is a target that lights the life ring at the action button when shot twice in quick succession, and to the right of both the bumper and target is a lane with a mini-flipper below it. The player can trap balls using this mini-flipper to make any shot on the far left side of the playfield, including the left orbit. Generally, balls that pass by the mini-flipper will feed the right inlane, though right outlane drains are possible by doing this on some copies of Jaws.
The two outlanes are unique as far as most outlanes go. The left outlane seems standard but has a ball saver called the “life ring” that must be strategically deployed by pressing the flashing action button immediately before the ball drains there. While the timing can be tough to learn, it is crucial to master – wait until the ball approaches the left outlane before pressing the button. Meanwhile, the right outlane has a post below it that can save balls that drain if the table is given a slight nudge, or occasionally on its own.
Scoring on Jaws is roughly comparable to that of Avengers: Infinity Quest. A good score to aim for in a tournament setting would be over 200M or 300M, but billion+ scores are possible with extra balls turned on and enough persistence.

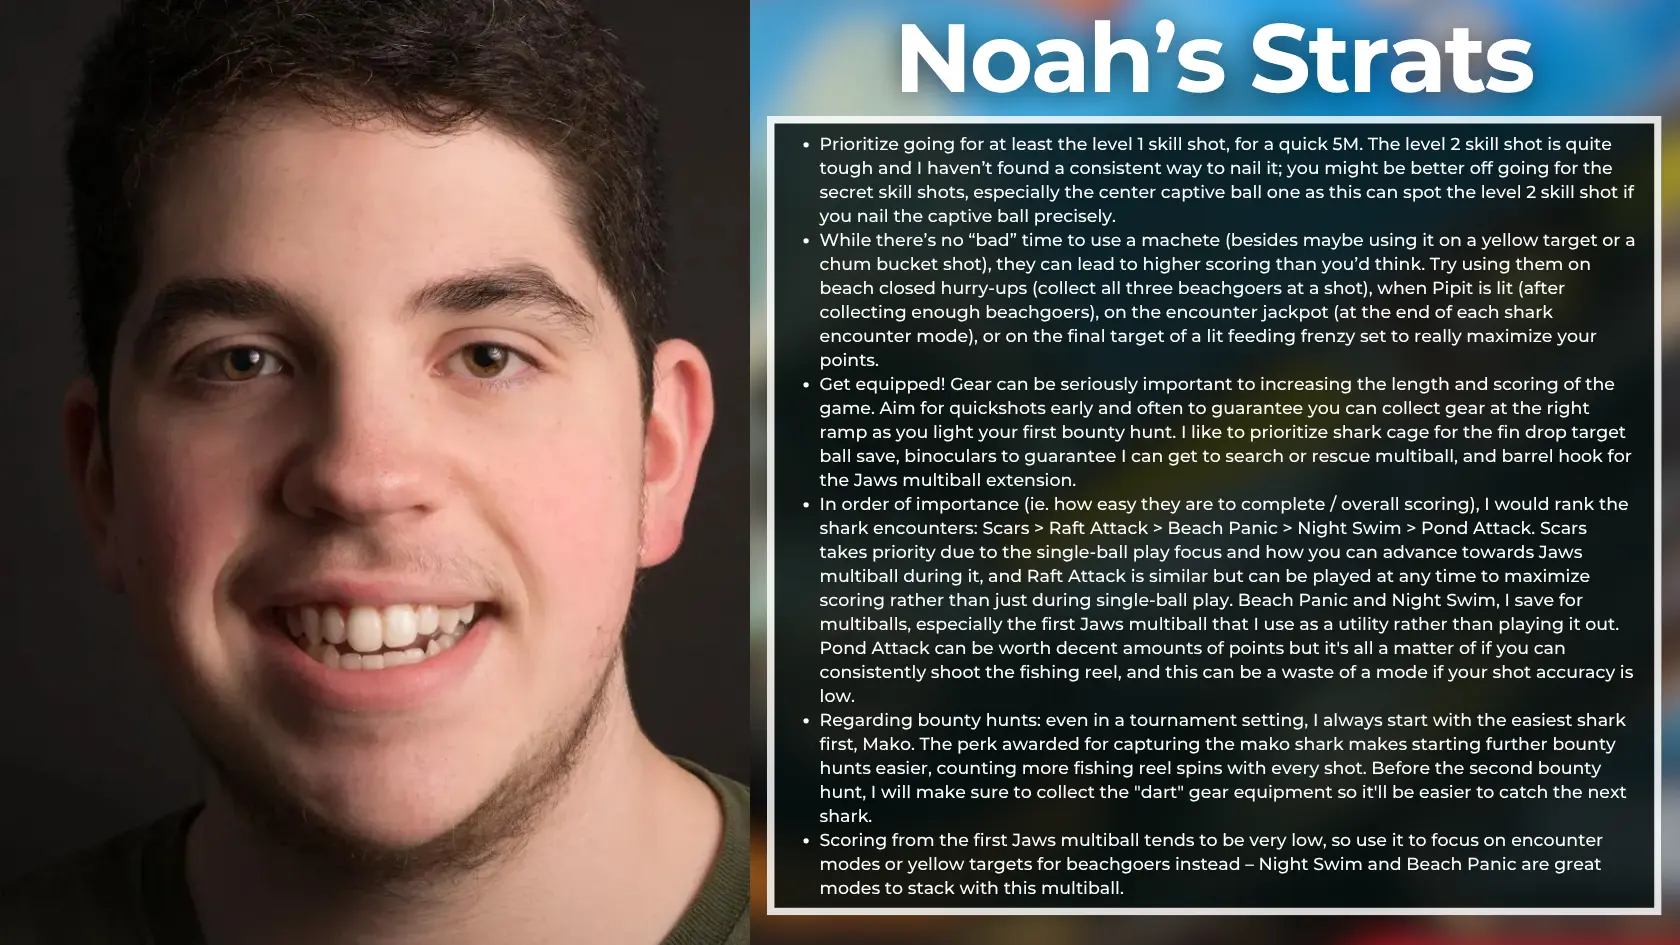
There are three different stages of the skill shot – once you complete one stage, the next ball will start with the next one:
There are also two secret skill shots. Try plunging to the lower flippers, and then hitting the center captive ball or chum bucket without hitting anything else...

You might be wondering why I listed machetes so early in the guide, when normally I’d be talking about how to get into modes or multiballs. Well, machetes can drastically increase scoring on this table if used well, and there are plenty of great times to use them throughout the game.
Machete is lit at either inlane by completing the left standup targets, if machete isn’t already lit. Once the ball rolls through the inlane, the next shot made will be multiplied in value by 2x for one time only. You can increase the machete multiplier in many ways: completing any of the shark encounters described below will increase it permanently, but you can also increase it temporarily by completing the left standups if machete is already lit, or by helping Pipit fetch his stick (which lights at random shots as the left standup targets are completed).
It is well worth knowing when machetes are useful and when they aren't. Keep an eye out on your inlanes, and if you have one lit but no scoring is currently presenting itself, use the flippers to cycle it between the lanes. Good times to use the machete include the final shot of the "Scars" shark encounter mode (at the standup targets), during feeding frenzy (on the last target of a set), and while chumming the water (multiplied values are added into the jackpot).
Eventually (once the machete value passes 4x), you'll have to shoot the harpoon lane to relight "light machete" at the left standup targets. Try getting this shot out of the way early to make sure you can prep the targets.

Shark encounters are the “modes” of the game, started in a similar matter to the dead features on The Walking Dead. Repeatedly shoot the captive ball (or bash boat on the Prem / LE) to light the encounters. You can score bonuses, including points and boosts to the next encounter, by shooting the captive ball before starting one, but these bonuses disappear if you drain before starting the encounter.
The five encounters are:
Every encounter you successfully complete (by scoring the encounter jackpot at the very end) increases the machete shot multiplier by +1x. There are plenty of great times to use machete throughout the game, so increase it early and often!

Fish finder awards are quick ways to score points, lit after enough shots to the left standup targets. The lit award is changed by rolling through the lane above the mini-flipper while “activate fish finder” isn’t lit; once it is lit, shoot any of the three rapidly flashing standup targets from the mini-flipper to collect the lit award.
From bottom to top, the awards are:

Two shots up the right ramp (or enough fishing reel spins) will light, then start, the first bounty hunt. There are four sharks the player can select from, from easiest to most difficult: Mako < Thresher < Hammerhead < Tiger, and each shark requires sets of multiple different shots to be made first. You can only advance towards these shots during single-ball play; progress towards them is turned off during multiball modes. The “bounty” increases as you collect lit feeding frenzy and "advance bounty" shots, lit as the left standup targets are completed and shot to the reel are made.
Once all four sets of shots have been made, you will be able to shoot the fishing reel to start bounty hunt multiball and try to reel in the shark. Shoot the green shots and shark captive ball to reel in and weaken the shark, respectively. Once the shark has been fully weakened, shoot the fishing reel followed by the captive ball to score your bounty and start a victory multiball. During the celebration multiball, shoot the green shots for jackpots and light the shark for super jackpot; to maximize on the value, make sure that you don't hit the shark until you clear out the green shots.
There is one final bounty hunt that can be qualified after trading in your gear to Quint. The process of lighting, collecting, and selling gear is described towards the end of this guide.

Having trouble with hitting the reel spinner consistently? Hold the ball on the left flipper, and then flip right as the ball overlaps the left outline of Jaws between the flippers. Learning shot timing can be incredibly helpful on many pinball machines, especially for shots like the fishing reel that are prominent parts of the game's ruleset.

The chum bucket captive ball is an important shot, as shooting it causes chum to spawn on the playfield (represented by the red shots). Collecting enough chum to fill out the chum line (where the shark fin roams) will allow you to load the harpoon and attach a barrel to Bruce. This is done by shooting any yellow shot, then quickly shooting the fin drop target. Look out for potentially dangerous drains from this shot – the drop target settles near the center captive ball and causes balls to ricochet back to the flippers. Later on you’ll need to attach more barrels, and manually ready them by completing the left standup targets.
Once the barrel has been attached, shoot any flashing yellow shot to start Jaws multiball. There are three Jaws multiballs, with the first multiball being a “utility multiball” best used to focus on other objectives, and the third multiball serving as a mini-wizard mode. These multiballs are also what qualify the final wizard mode.
The center ramp will light to start the final showdown with Jaws after playing Jaws Multiball 3. If you want to play the rest of the game out, shoot the center ramp and choose "keep chumming" to advance towards other objectives.

You can also play any multiball mode as a single-ball mode, if you trap a ball at the mini-flipper by holding it up, and then hold the action button (which will be flashing green). This will enable “flip-lock” and trap the ball there without you needing to worry about keeping it under control, though it will time out after about 20 seconds.
Bounty hunts will often help out with flip-lock, increasing its timer, allowing balls held in the flip-lock to apply 2x to all multiball scoring, or (in the case of Tiger Shark) outright making it unlimited rather than once per ball (read: hit five shots to reactivate the flip-lock when used).

Feeding frenzy is started when you complete sets of yellow standup targets, called “shark tower” targets because of their proximity to the major "beach" shots. The first feeding frenzy only requires two target sets to start, but subsequent ones require more.
Feeding frenzy is a classic-styled “fast scoring” mode where all switches increase a value scored by shooting the flashing shark tower targets. Shots to the flashing targets score 1x, 2x, then 3x the value, meaning a hectic multiball - or strategic use of machetes - can result in very high feeding frenzy scores. Feeding frenzy points are awarded at the end of each ball for the remainder of the game, so don’t tilt!
The yellow “shark tower” targets also serve the secondary function of adding beachgoers to the major shots they flank, represented by the orange circles. Shooting any major shot while an orange circle is flashing adds 1 beachgoer, and if all 3 have been collected at one shot, a shark will be spotted at that beach and it can be closed by scoring a hurry-up at the shot.
A percentage of the value awarded for any beach’s hurry-up is added to every lit shot to that beach, until search / rescue multiball starts (after 15 beachgoers have been collected) and the value resets.
Extra ball is awarded after 8 beachgoers have been saved.

The lane above the mini-flipper lights the harpoon lane for quickshot if it isn’t already lit. Shoot it from the mini-flipper to raise the fin drop target for a value that increases as quickshots are scored, and with strong shots up the harpoon lane. However, the multiplier for quickshots resets to 1x as soon as the player misses one, requiring precise shooting to maximize scoring from them. Quickshots are the most efficient way to light gear for collection at the right ramp as well.
Extra ball is awarded after 3 successful quickshots.
Machetes can be used on quickshots, but they only multiply the base value, not the multiplied value from the lane. However, massive scores can still be obtained by combining these multipliers; I've managed a few 100M quickshots myself!

You can light gear for collection at the right ramp in various ways, most often from level 2 or 3 skill shots or by collecting quickshots as described above, but also by completing the shark captive ball targets after the timer extension has been awarded.
There are six different types of gear, all of which make the game a bit easier but can only be used one time each, and can be changed using the right flipper button before shooting the right ramp (listed from top left to bottom right):
Once you've collected all six gear, hit the right ramp one last time to sell it! The big score award starts at 15M but increases the more "unused" gear you have, and by 50M for every knot that was tied during Quint's Challenge. Selling your gear will qualify the final bounty hunt for the Great White shark, which can be selected the next time the bounty hunt selection is started.

No comments yet. Sign in to be the first.